Use BrainBay + OpenBCI on Linux with Wine
The OpenBCI Processing application supports basic filtering and configuration, but options for manipulating the data further are scarce. When my OpenBCI arrived, I started looking around at the other software options.
Python and MATLAB are popular with other OpenBCI users for recording data and processing, and though I’ll probably use Python in the long run, but I wanted to be able to do the basics without getting tangled up in writing my own software.
Using proprietary, closed-source software with an Open Brain-Computer Interface seemed like it would defeat the point of having an open brain-computer interface in the first place. This leaves two well-respected, open-source software suites to pick from: OpenViBE and BrainBay.
OpenViBE
The official OpenBCI driver for OpenViBE is still in development, with no official release date, and OpenViBE can’t read the data recorded by the OpenBCI Processing application. There are currently two solutions to this.
Adam wrote a Python OpenBCI to OpenViBE-compatible CSV converter script so we can use OpenViBE on OpenBCI data, and Jérémy Frey’s fork of the OpenBCI Python repo has a script that lets you stream live OpenBCI data to the OpenViBE acquisition server.
BrainBay

BrainBay is an open-source bio- and neurofeedback application developed by Christoph Veigl and Jeremy Wilkerson for use with OpenEEG hardware. It works with a wide range of hardware, including OpenBCI, can write and read .edf and .gdf files, and offers plenty of options for data processing.
BrainBay is windows software: Wine comes to the rescue. Wine, for those who haven’t used it before, is a free & open-source ‘compatibility layer’ that lets you run Windows applications on Linux, Mac, and other Unix-like operating systems.
BrainBay on Linux
Download and Setup Software
- Download the latest BrainBay executable from the GitHub releases page, which is updated more frequently than the BrainBay website. At the time of writing, that’s Setup_BrainBay-1_9_3.exe
- Install Wine. You can either do this by searching for “wine” in the Ubuntu software centre, and installing the top result, or by running the command
sudo apt-get install winein a terminal. If you’re on a different OS, check their website for installation instructions. - The FTDI drivers that come with Ubuntu work fine with the OpenBCI. If you’re running a different operating system, you may need to install the official FTDI drivers
Setup COM port
- Find what COM port your OpenBCI dongle is using:
- Run the command
dmesg | grep tty- Plug in your OpenBCI bluetooth dongle
- Run the command again, and look for that last line, which wasn’t there the first time you ran it. It should look something like
[25300.423205] usb 2-1.1: FTDI USB Serial Device converter now attached to ttyUSB0. In my case, the port wasttyUSB0(a common result for Ubuntu).
- Run the command
- Symlink the COM port to Wine’s virtual COM port with the command:
ln -s /dev/ttyUSB0 ~/.wine/dosdevices/com1. ReplacettyUSB0with the correct COM port if you got a different result. This allows Wine to access the USB bluetooth dongle.
Run BrainBay
- Run the BrainBay installer with Wine. You can either right click on the .exe you downloaded and select “Open With” → “Wine Windows Program Loader” from the menu, or run the command:
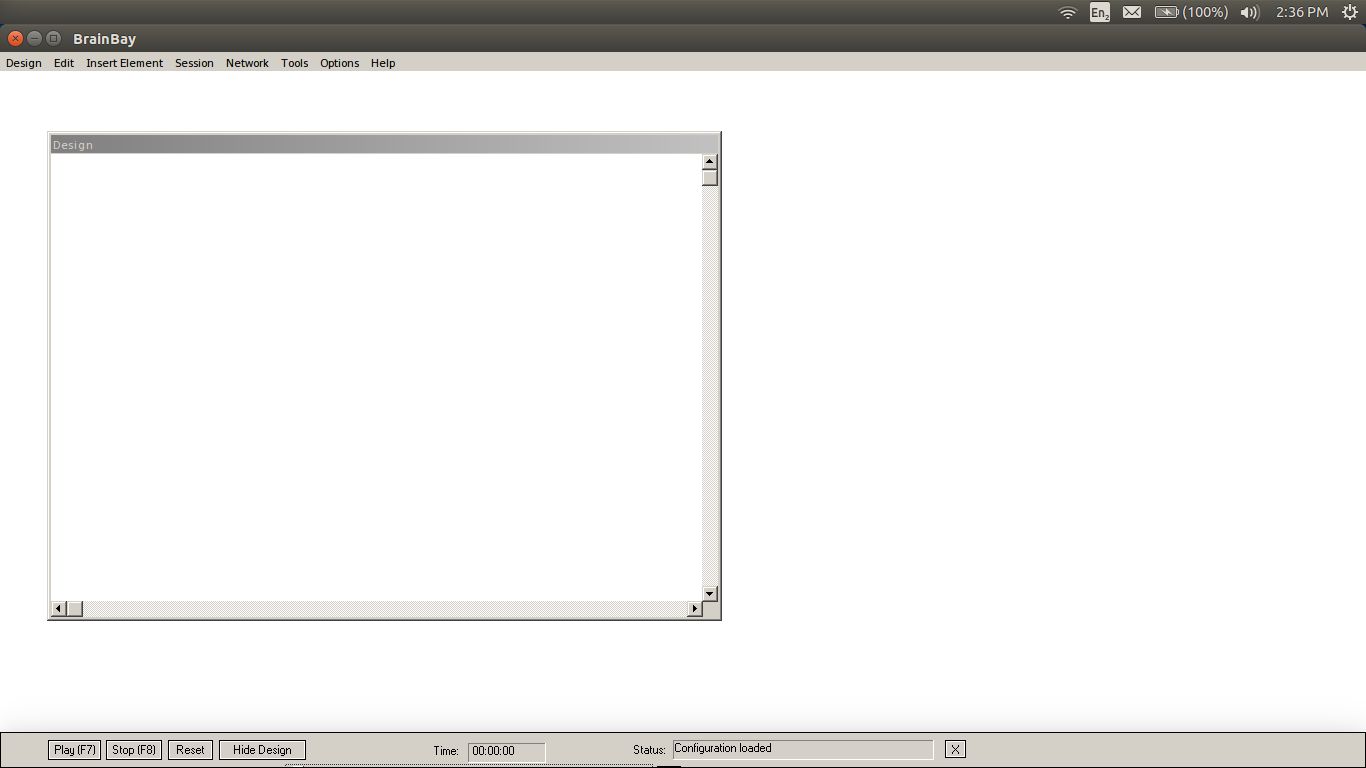
wine Setup_BrainBay-1_9_3.exefrom in the same directory as the installer. This will run a Windows-esq installation wizard that’s pretty self explanatory. When you launch BrainBay, you should be greeted by a screen about like this:

Use BrainBay
Now that BrainBay’s running on Linux, it’s time to start gathering data with it. EKG is easy to measure, so lets start with that. Here’s how to get data from your OpenBCI into BrainBay:
-
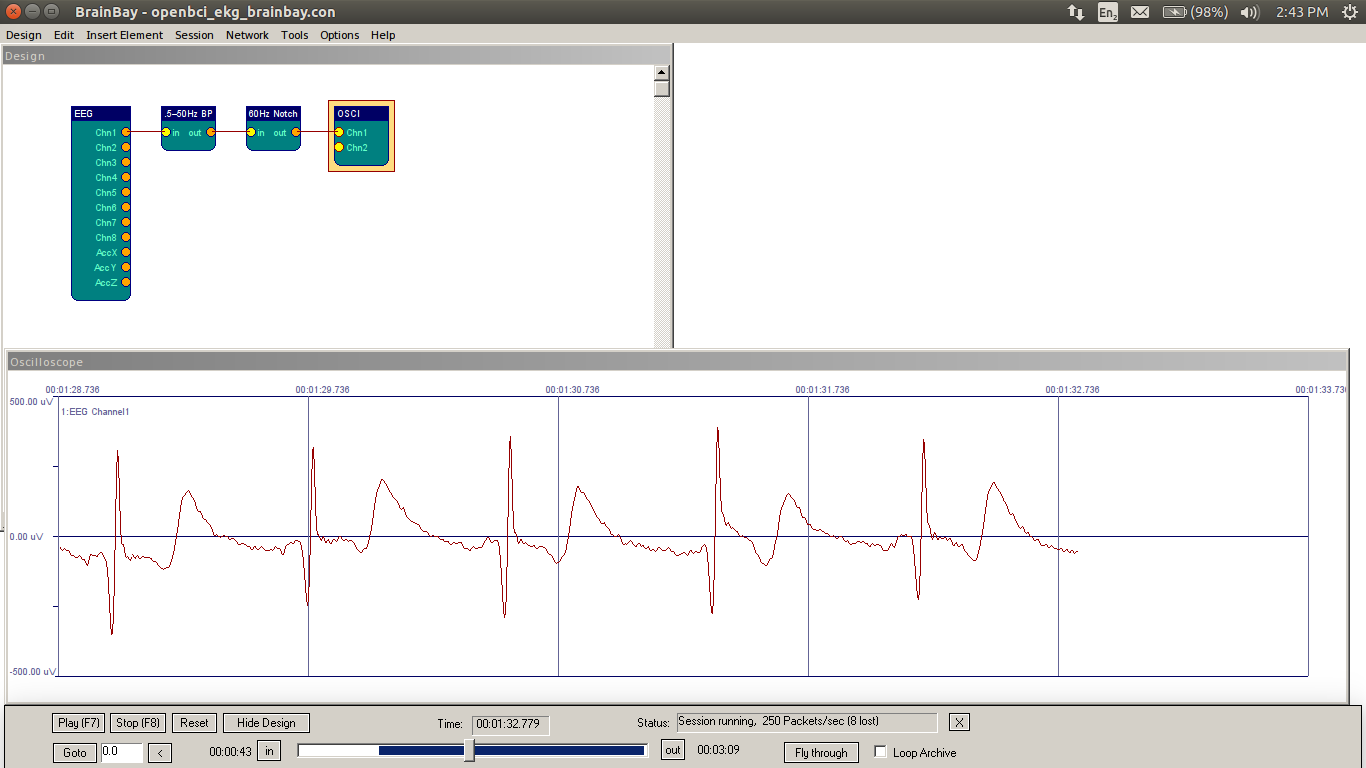
The Configuration File: BrainBay uses a configuration file to describe the ‘design’, which includes the data source(es), filters, algorithms, and display widgets, the settings of each ‘block’ (source, filter or display), and how all the blocks are connected.
BrainBay will start with an empty ‘design’. You can load designs from the BrainBay configurations folder, but they’re not set up for OpenBCI. Instead, I recommend you download this basic OpenBCI BrainBay Configuration file. It has the following widgets:
- An input source, (the 8 Channel OpenBCI)
- A 1–50 Hz BandPass filter. This removes the OpenBCI’s DC offset, and the upper portion of the Gamma band. A 1–50 Hz Bandpass is applied by default in the OpenBCI Processing app.
- A 59-61 Hz Bandstop filter, which cuts out interference from AC house wiring. I know, the band stop should cover this, but for some reason when I removed it I got all kinds of interference. So I put it back.
- An oscilloscope to graph the signal, with the gain adjusted to be reasonable for EKG.
-
Configure input source: Right click on the input block (an 8 channel OpenBCI). Set the COM port to COM1 (this is the virtual COM port you symlinked to the real COM port your dongle is plugged into), then click “Connect/Disconnect”. You should see a check appear in the “connected” checkbox .
-
Hook your OpenBCI up to measure your heart’s electrical activity, follow the steps outlined in my previous article on recording EKG with the OpenBCI … skipping any steps relating to software, since we’re now using BrainBay instead of the OpenBCI processing app.
-
Start the data stream: Press the F7 key, or the play button at the bottom of the screen, to start streaming data from your OpenBCI.
-
Stare in mesmerized wonder at your electrocardiogram. Your heart-rate may be a little faster than normal with the excitement.


